[AndroidStudio4]ポップアップ(ダイアログ)を表示する方法
以下の画像のように画面上にポップアップを表示するのは、PopupWindowという機能です。今回の記事では、PopupWindowを表示し操作に処理を割り当てる方法をご紹介します
PopupWindowのレイアウトを定義する
res/drawable/popup_background.xml
ポップアップの枠内、枠のレイアウト設定をします。
<?xml version="1.0" encoding="utf-8"?>
<shape xmlns:android="http://schemas.android.com/apk/res/android"
    android:shape="rectangle">
    <solid android:color="@android:color/white" />
    <stroke
        android:width="2dp"
        android:color="@color/black" />
</shape>
res/layout/popup.xml
ポップアップ内に表紙するViewを定義します。background属性で上のレイアウトファイルを指定します。
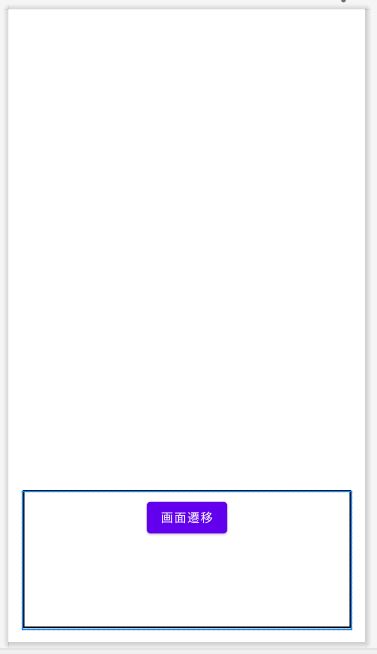
<?xml version="1.0" encoding="utf-8"?>
<LinearLayout xmlns:android="http://schemas.android.com/apk/res/android"
    android:layout_width="match_parent"
    android:layout_height="160dp"
    android:layout_gravity="bottom"
    android:background="@drawable/popup_background"
    android:orientation="vertical"
    android:padding="8dp"
    android:layout_margin="16dp">
    <Button
        android:id="@+id/add_note"
        android:layout_width="wrap_content"
        android:layout_height="48dp"
        android:layout_gravity="center_horizontal"
        android:text="画面遷移"  />
</LinearLayout>
PopupWindowを表示させる
MainActivity
事前に、画面レイアウトにImageButtonを定義します。
<LinearLayout
    android:layout_alignParentBottom="true"
    android:layout_height="48dp"
    android:layout_width="fill_parent"
    android:orientation="vertical"
    android:background="@color/gray"
    android:layout_marginTop="4dp"
    android:layout_marginBottom="0dp"
    android:id="@+id/main"
    >
    <ImageButton
        android:id="@+id/add"
        android:src="@drawable/ic_baseline_add_circle_24"
        android:layout_gravity="center"
        android:scaleType="centerInside"
        android:layout_width="wrap_content"
        android:layout_height="fill_parent"
        android:background="#00000000"
        android:onClick="displayPopup"
        />
</LinearLayout>
onResumeメソッド内では、PopupWindowの表示サイズなどの設定を記述します。そしてImageButtonに対応するメソッド(例ではdisplayPopup)に、PopupWindowを表示するメソッドを呼び出します。このメソッド名は、xmlファイルのImageButtonのonClick属性と一致させないといけません。
PopupWindow popupWindow;
View popupView;

@Override
protected void onResume() {
    // 省略

    popupWindow = new PopupWindow((View)findViewById(R.id.add));

    // 使用するレイアウトを指定する
    popupView = getLayoutInflater().inflate(R.layout.popup, null);
    popupWindow.setContentView(popupView);

    // popup表示時に、他のButtonなどを無効にする
    popupWindow.setOutsideTouchable(true);
    popupWindow.setFocusable(true);

    // 表示サイズを設定
    popupWindow.setWidth(findViewById(R.id.main).getWidth()/10*9);
    popupWindow.setHeight(480);
}

// PopupWindow内のボタン押下時
public void displayPopup(View notused) {
    popupWindow.showAtLocation(popupView, Gravity.CENTER_HORIZONTAL, 0, 500);
}
PopupWindowに処理を定義する
onResumeメソッド内に、以下のコードを追加します。
    // PopupWindow内のボタンにクリック時の処理を定義する
    popupView.findViewById(R.id.add_note).setOnClickListener(new View.OnClickListener() {
        @Override
        public void onClick(View v) {
            popupWindow.dismiss();

            Intent intent = new Intent(MainActivity.this, SubActivity.class);
            startActivity(intent);
        }
    });
PopupWindowを非表示にする
上のコード例にあるdismissメソッドを呼ぶと、ポップアップが消えます。